
One of the many ways Docker makes your life easier is that there are a bunch of development tools you no longer need to install on your machine. Instead, you can rely on images.
But if you plan on using Docker for deploying your apps, then you’ll also need to create your own images. When that’s the case, the docker build command is what you need.
This post is all about the docker build command, what it’s for, and how to use it.
This post also assumes that you:
- are comfortable working with the command line,
- have at least some familiarity with Docker,
- and have Docker installed on your system.
If you don’t have Docker installed, go to the download and installation page and follow the instructions for your operating system.
=Discover how Kosli allows you to follow a source code change to Docker runtime environments
Learn how to track changes with KosliWhat Is the Purpose of the Docker Build Command?
You use the docker build command to build an image from a Dockerfile and a context. Think of the Dockerfile as a script containing the necessary steps for creating the image. The “context” is a set of files that can be used in image creation. In other words, think of the Dockerfile as a recipe and the context as a list of ingredients.
After you get your image, you can run it, distribute it, and use it as a base for another image.
Docker Build Fundamentals
The explanation above is a very simple way to describe the docker build command, but it still relies on quite a bit of vocabulary. We’ll now define some terms in more detail to help clarify the definition we gave.
Docker Images
Images are one of the main building blocks of Docker—and the result of running docker build—so you must clearly understand them.
Images are like packages or boxes with all the important things your application needs to run. Everyone who gets a copy of this box can run your application with the guarantee that it will behave consistently, no matter where they are.
Images vs. Containers
When someone gets an image, they typically want to run it, so they can use the software it packages. To do that, you create a container from the image and then start it. You can then stop the container and run it again or even create several containers from the same image.
Many people get confused over those two terms: images and containers. Here comes an object-oriented analogy: images are like classes, and containers are like objects instantiated from those classes. You can instantiate many objects from the same class, but the class itself is still a single one.
How Do I Run a Docker Image?
Let’s see a quick example of how to run a docker image. We’ll use the image for NGINX, a popular open-source web server.
Pulling the Image
The first step is getting the image, and for that, we use the docker pull command followed by the image’s name:
$ docker pull nginx
You’ll see some messages displaying the status of the downloads, and then a final message saying it’s all completed.
$ docker pull nginx
Using default tag: latest
latest: Pulling from library/nginx
6064e7e5b6af: Pull complete
7f282f87664a: Pull complete
dc026e03ef0d: Pull complete
a53fd7d7a438: Pull complete
bcc2346eb29b: Pull complete
01c24b0718bb: Pull complete
Digest: sha256:ab589a3c466e347b1c0573be23356676df90cd7ce2dbf6ec332a5f0a8b5e59db
Status: Downloaded newer image for nginx:latest
docker.io/library/nginx:latest
To verify that everything worked, use the docker images command. You’ll see the NGINX image listed, along with whatever images you happen to have already:
$ docker images
REPOSITORY   TAG       IMAGE ID       CREATED       SIZE
nginx        latest    2b7d6430f78d   10 days ago   142MB
Now you might have two questions:
- From where exactly did you pull the image?
- How would you know the correct name to use?
The answers to both questions are actually the same: Docker Hub. When you use the pull command, Docker needs to look for the image on a registry, which is a collection or repository of images. The official registry (which is also the default one) is Docker Hub.
If you go to the Docker Hub site, you can search for many popular software tools (databases, message brokers, web servers, languages, and frameworks) to find their official images. That’s how you find the correct name to use for a given image.
Creating a Container From the Image
Now that you have NGINX’s image, you can run it as a container:
$ docker run -it -d -p 8000:80 --name myserver nginx
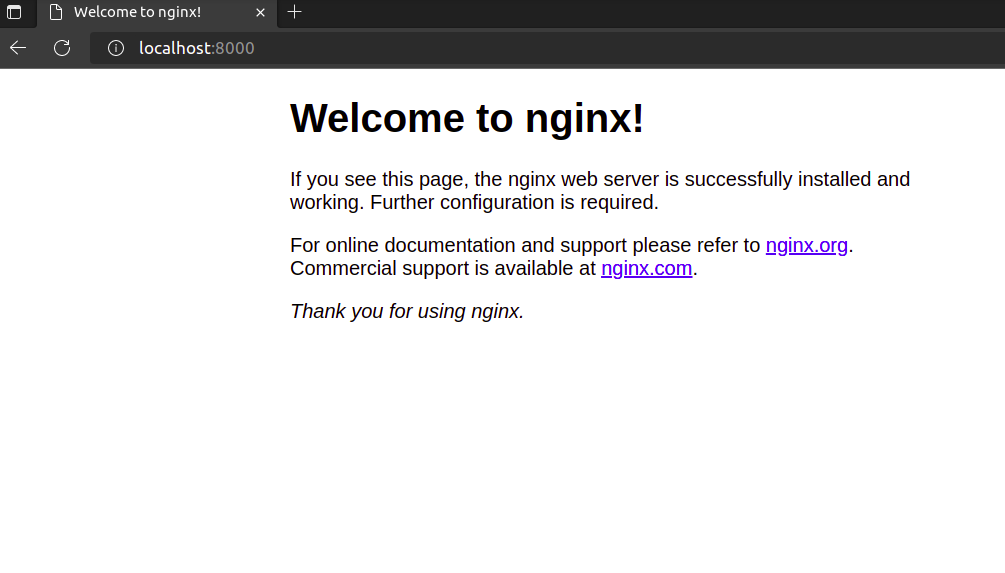
I won’t go into the details of the command above. The main takeaways are to understand we’re running a container created from the NGINX image we just pulled, binding it to the port 8000 on the host machine, and giving it the name of myserver.
Open your browser and go to localhost:8000. You’ll see this:
Use the docker ps command to see the container listed. As the last step, let’s stop and remove the container:
$ docker stop myserver
$ docker rm myserver
We could’ve done all of that in a single step. If you use docker run and Docker doesn’t find the image locally, it tries to pull it from Docker Hub. So, if you want to grab an image and run it immediately, just go with the docker run command directly and you’ll save a bit of time.
Dockerfile
Now you know more about images and how to use them. The next step is to learn how to create your own images, and a vital component is the Dockerfile.
A Dockerfile is a plain-text file that specifies one or more images on which your image depends. It also contains instructions on how to create a Docker image. This file contains commands that interact with its context (that is, a set of files, typically contained inside the same directory) in several ways, such as copying files from here to there or building an application using a certain compile or runtime.
Docker Build Examples
We’ll now see a few examples of how you can use the docker build command in practice, using the example of a static site.
Step #1: Let’s Write a Dockerfile
In the first step, we will:
- create a single HTML file
- write a Dockerfile
Start by creating a directory and accessing it. Inside the directory, create a new file called index.html and paste the following content on it:
<!DOCTYPE html>
<html lang="en">
  <head>
    <title>Hello World Site!</title>
    <style>
      body { background-color: #a83287; }
      h1 { color: #ebe417};
    </style>
  </head>
  <body>
    <h1>Hello World!</h1>
  </body>
</html>
Now, create a file called Dockerfile (exactly like that, with no extension) and put the following content on it:
FROM nginx
COPY . /usr/share/nginx/html
This is the simplest Dockerfile we could create. It declares NGINX as the base image and then uses the COPY command to copy everything from our context to the directory inside of the container.
Step #2: Create an Image
So, now, we can finally use the docker build command to create an image! Run this:
$ docker build . -t site-image
The dot specifies the path to the context we’re using (in this case, the current directory.) Then, the -t option specifies a tag (a “name”) for the image.
Now, you can run docker images (don’t forget the “s” at the end!") to see your image listed:
$ docker images

REPOSITORY   TAG       IMAGE ID       CREATED         SIZE
site-image   latest    a1fadde36b90   4 minutes ago   23.5MB
nginx        latest    2b7d6430f78d   10 days ago     142MB
nginx        alpine    804f9cebfdc5   3 weeks ago     23.5MB
Step #3: Run the Image
Now, you’re ready to run the image as a container:
$ docker run -it --rm -d -p 80:80 site-image
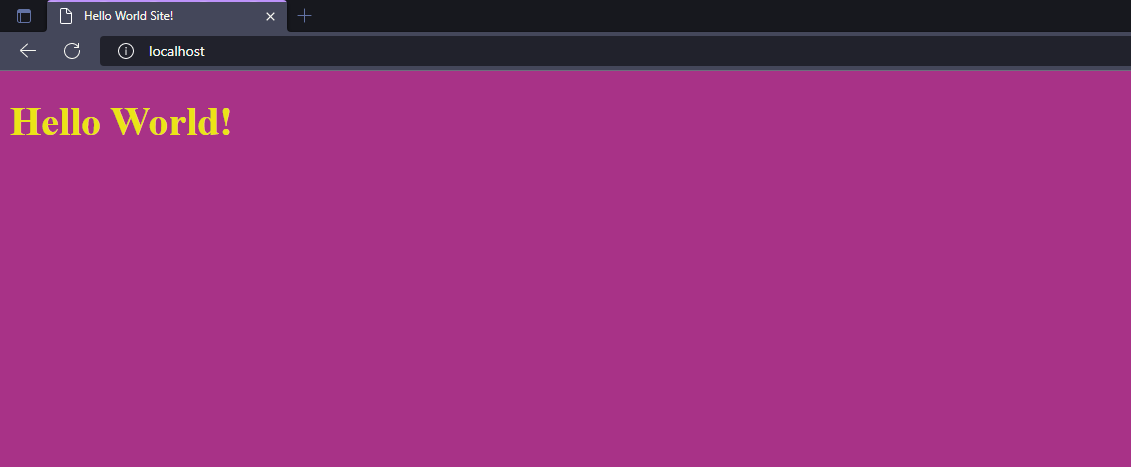
Finally, go to localhost:80 using your browser to see the site live:
Step #4: Build an Image With a Different Path
If you don’t specify a Dockerfile, the Docker build command will look for a file called exactly Dockerfile inside the current directory. However, it’s possible to specify a path and even use files with different naming conventions.
Let’s test that in a few steps. First, create a copy of the index.html file, name it help.html, and change the text to “Welcome to the help page!” Then, create a copy of the Dockerfile, name it dev.dockerfile, and paste the following content on it:
FROM nginx
COPY help.html /usr/share/nginx/html
The next step is to build the image. This time we’ll add a tag to the image’s name to tell it apart from the first one. Also, with the -f option, we can specify a different name for the Dockerfile:
$ docker build . -f dev.dockerfile -t site-image:v2
Finally, we can run the image. Let’s bind it to a different port, though, since port 8000 is already bound to the first container:
$ docker run -it -d -p 8000:80 site-image:v2
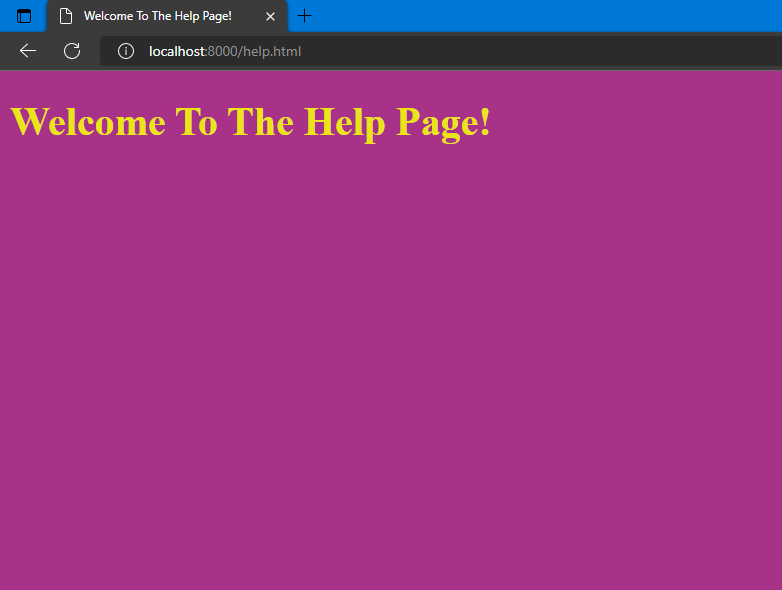
Now, you can go to localhost:8000/help.html to see the new page:
Step #5: Pushing an Image to Docker Hub
As the last step, we’ll push our images to Docker Hub. If you don’t already have a Docker Hub account, go to the Docker site and click on Register. After creating your account, you have to log in to your account using the command line, and for that, you’ll need a personal access token (you can simply use your password, but that’s not a security best practice).
Go to hub.docker.com/settings/security and then click on New Access Token:

On the next screen, give the token a description and choose Read & Write as its permissions:
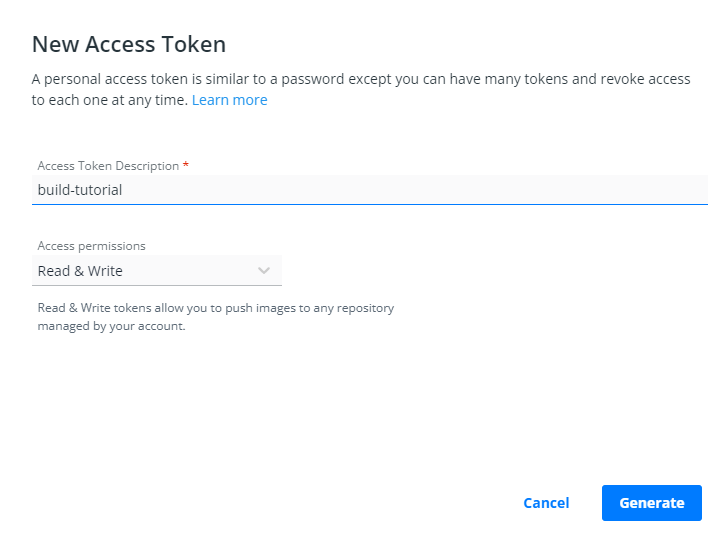
Then, click on Generate. After that, you’ll see your token. Make sure to copy it since it won’t be displayed ever again. After obtaining the token, go back to your terminal and execute docker login.
You’ll be prompted for your username and password. Type the username as normal but provide the token instead of your password. You’ll see a message saying that the login succeeded.
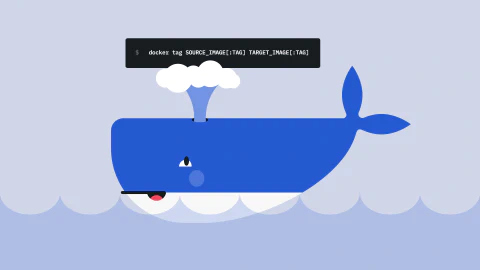
Now, there’s only one step left before we’re ready to push the image. We need to tag it again, adding the username as part of the tag. Run the following command:
$ docker tag site-image <YOUR-DOCKER-USERNAME>/site-image
Make sure to replace
$ docker push <YOUR-DOCKER-USERNAME>/site-image
Finally, go to hub.docker.com/repositories, and you should see your image there!
Docker: Build Your Road to Software Success!
In this post, you’ve learned more about the docker build command: what it is, what its purpose is, and how you use it. I hope you can now build upon this knowledge (pun intended) to become more proficient with Docker!